
Johns Manville Radiant Barrier Installation: The San Jose Owner’s Guide
We install and retrofit Johns Manville radiant barrier systems throughout San Jose, with most jobs running $1,100 to $2,800 depending on attic square footage, roof pitch, and whether we’re also air-sealing or adding insulation in the same visit. Same-day and next-day slots are available for most San Jose zip codes, and our trucks carry Johns Manville-compatible perforated foil and we stock Reflectix for smaller retrofit areas as well. Most homeowners find us after they’ve climbed into the attic on a hot August afternoon and realized the foil facing is torn, drooping, or missing entirely across whole sections. You’ll know it the second you’re up there: the attic feels like a kiln, the existing barrier looks like crumpled tinfoil, and your upstairs rooms never cool below 78 degrees.
Which Johns Manville Models This Applies To
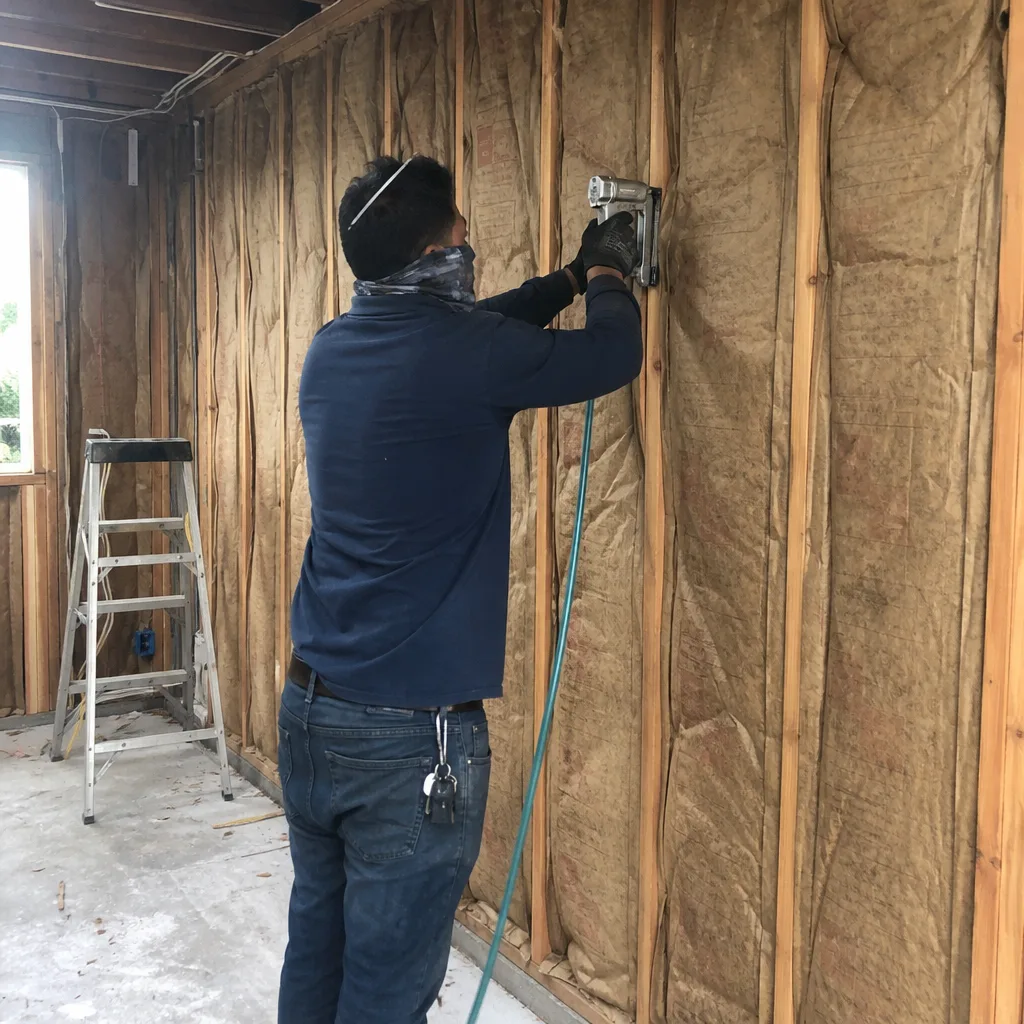
Johns Manville doesn’t sell a single “radiant barrier” product line the way they sell, say, ComfortTherm batts. What they manufacture is a foil-faced insulation product called Foil-Faced Polyisocyanurate, plus a line of JM Radiant Barrier Sheathing that goes under roofing during new construction or re-roofs. When a homeowner tells us they have “Johns Manville radiant barrier,” they usually mean one of three things: foil-faced polyiso boards stapled to the rafters, a perforated foil drape installed over the attic floor, or reflective sheathing that a roofer put in years ago and nobody in the attic has looked at since.
Here’s the compatibility gotcha that catches San Jose owners off guard: Johns Manville foil-faced polyiso uses a fiberglass-reinforced aluminum facing that tears differently than the thinner foil on Reflectix or bargain radiant barriers. The JM facing is thicker, which is great for durability, but it holds heat near the staple points and tends to pull loose at the fasteners over years of thermal cycling. When we repair JM barriers, we see failures at the staples first, then along the seams. The fix is not a generic foil tape job. We match the JM facing with a reinforced foil tape rated for polyiso, not the thin HVAC tape you’d grab at a hardware store. That’s the difference between a repair that lasts two summers in San Jose’s attic heat and one that peels off by October.
We’re an independent San Jose insulation contractor, by the way. We install and repair Johns Manville products, but we’re not a JM dealer or affiliated with the manufacturer. That independence means we’ll tell you straight when a JM product is worth saving and when a different material makes more sense for your attic.
Signs Your Johns Manville Radiant Barrier Installation Is Failing
You don’t need a thermal camera to know when a radiant barrier has stopped doing its job in San Jose. Here’s what we see most often on service calls, with the underlying cause in each case:
- Upstairs rooms run 8 to 12 degrees hotter than the thermostat setting on sunny afternoons. A functioning radiant barrier blocks a meaningful chunk of the sun’s radiant heat from ever entering the attic airspace. When the foil facing is torn or has fallen away in sections, that heat loads directly into the attic and pushes down through the ceiling insulation below.
- Foil is visibly sagging, drooping, or pooled on top of the attic insulation. The staple points fail first on JM foil-faced polyiso, especially when the original installer used standard staples instead of wide-crown fasteners. The board or drape then pulls loose and the reflective surface ends up pointing at the floor instead of back toward the roof deck.
- The attic smells hot and stale, like an oven that was just opened. This is the smell of superheated air with nowhere to go. A working radiant barrier keeps attic air noticeably cooler, which changes how the space smells when you open the hatch. If the air up there feels thick and bakes your face, the barrier is compromised.
- AC run times have gotten noticeably longer over the last two or three summers. San Jose’s climate is kind to HVAC equipment, but a failed radiant barrier makes the system work like it’s running in Fresno. Longer cycles, higher kilowatt usage, and a unit that can’t hold temperature past 3 p.m. all point to attic heat gain.
- You notice shiny material flaking or peeling near roof vents or the attic entrance. The foil facing on JM polyiso can delaminate from the foam core after years of temperature swings. Once the facing separates, the barrier loses its reflectivity and starts shedding thin foil chips throughout the attic.
Replacement Cost & What’s Included
For San Jose homes, expect the installed cost of a Johns Manville radiant barrier retrofit to land between $1,100 and $2,800. Here’s what drives the range:
- Attic square footage: A 900-square-foot single-story ranch in Willow Glen costs less than a 2,400-square-foot two-story in Almaden Valley. Simple math, but it’s the biggest variable.
- Method: Stapling foil-faced polyiso to the rafters runs higher than draping perforated foil over the attic floor. Rafter-mounted work takes more labor and more fasteners, but it performs better in San Jose’s sunny climate.
- Existing barrier condition: If we’re tearing out failed JM material first, that adds labor. If the attic is clean and ready, the same job drops toward the lower end.
- Air sealing and insulation top-off: About half of our radiant barrier jobs in San Jose get paired with blown-in insulation or air sealing while we’re up there. That’s a separate line item, but it’s the smart move if your existing insulation is thin.
Every job comes with a written price before we start, a workmanship warranty for 365 days, and our 365-Day Done Right Promise: if it’s not right, we make it right, in writing every time. If the repair fails within that year, the second visit is free. No charge, no argument.
DIY or Call Us?
Let’s be honest about what you can check safely versus where DIY goes wrong. You can absolutely inspect a radiant barrier yourself: open the attic hatch, shine a flashlight, and look at the foil facing. Check for sagging sections, tears, and areas where the foil has pulled away from the staples. You can also measure the attic temperature with a basic thermometer on a 90-degree San Jose afternoon. If it’s 140 degrees up there, the barrier isn’t doing its job, whatever the manufacturer’s specs say.
What you shouldn’t do yourself is the replacement work in a low-pitch or tight San Jose attic. Rafter-mounted radiant barrier installation means working on your knees near the roofline, often in temperatures well above 120 degrees, while handling foil-faced material with edges sharp enough to slice skin. A staple gun in a cramped attic in July is a recipe for heat exhaustion or a fall through the ceiling joists. We do this work four days a week in San Jose attics, and we still take it slow. The practical move is to have us do an inspection, get a written price, and decide from there. Call (669) 333-7274 and we’ll get you on the schedule.
FAQs
In San Jose’s climate, a correctly installed Johns Manville foil-faced barrier typically lasts 15 to 25 years before the facing delaminates or the fasteners fail. Attics with severe temperature swings, poor ventilation, or original staple-only installation tend to fail at the earlier end of that range. The reflective performance degrades slowly, but once the foil tears or separates, the barrier effectively stops working in that section. If your home is older than about two decades and the attic barrier looks rough, it’s time for an evaluation. Call (669) 333-7274 and we’ll take a look.
Yes, if the damage is limited to seams, small tears, or isolated staple failures, a targeted repair with the correct reinforced foil tape restores performance without a full replacement. If the facing has delaminated across large sections or the barrier has fallen onto the insulation, replacement is the better call. We’ll tell you which one you need after we look at the attic, not before. Estimates are free.
Most single-family San Jose homes are done in one day, typically six to eight hours for a full attic retrofit, depending on size and whether air sealing is included in the same visit.
We stock Johns Manville-compatible foil-faced polyiso and perforated radiant foil on our trucks, along with the reinforced tape and fasteners the job requires. For smaller retrofit areas where a lighter material makes sense, we also carry Reflectix. If your attic needs something outside our standard stock, we can usually have it within a day or two. Call (669) 333-7274 for a free estimate, and we’ll confirm we have everything the job needs before we arrive.
If your Johns Manville radiant barrier is failing and your San Jose attic is fighting you every afternoon, let’s fix it. Call (669) 333-7274 for a free estimate. We’ll give you a written price before any work starts, live arrival tracking on the day, and photo proof of the finished job. Insulation isn’t exciting, but your next utility bill can be.
Written by Chase Whitaker, Owner, Laurel Attic Insulation San Jose at Laurel Attic Insulation San Jose, serving San Jose and nearby areas.