
Knauf Vapor Barrier Installation: The San Jose Owner’s Guide
Knauf vapor barrier installation in San Jose typically runs $450 – $1,100 for a standard attic space, and we can usually get it done the same day you call. Most homeowners discover they need this work after pulling down the attic hatch and finding condensation on the underside of the roof deck, or noticing damp insulation that’s lost its loft. We stock Knauf-compatible vapor barrier materials on our trucks, and if your existing barrier has torn or been installed wrong from the start, this page will tell you exactly what to expect.
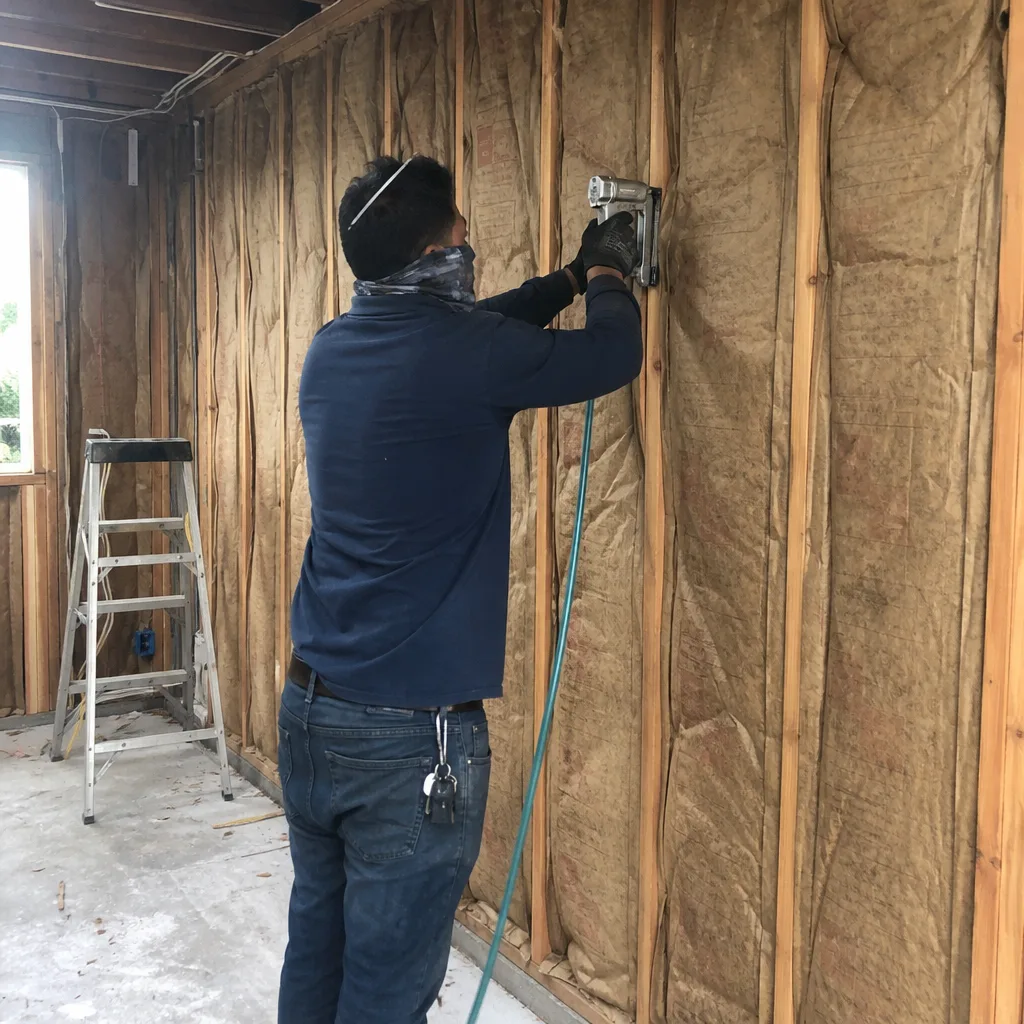
Here’s the thing about vapor barriers in San Jose: our climate sits in a weird middle zone. Marine air rolls in off the bay, summer temperatures swing 30 degrees between day and night, and attics get hot enough to bake moisture out of everything. A vapor barrier that was fine in a dryer climate will fail here faster because it’s dealing with real humidity cycles year-round. That’s why material choice and installation technique matter more than most people realize.
Key takeaways:
- Installed Knauf vapor barrier work in San Jose runs $450 – $1,100 depending on attic size and access difficulty
- We stock Knauf-compatible barrier materials, not just whatever’s on the truck
- Same-day installation is available for most San Jose attics
- Every job includes a written price before work starts and our 365-Day Done Right Promise
Which Knauf Models This Applies To
Knauf manufactures vapor barriers in several product lines, and the compatibility question is where we see the most confusion. The Knauf PE Vapor Barrier line comes in 4 mil, 6 mil, and 10 mil thicknesses, each suited to different attic configurations. The 6 mil is the workhorse for most San Jose homes. If you’re looking at a Knauf Smart Vapor Retarder (the variable-permeance membrane that adjusts to humidity), that’s a different installation entirely, and it’s one we handle regularly for homes in Willow Glen and Almaden Valley where older insulation systems need retrofitting.
Here’s how to identify what you have: pull back a corner of the existing barrier and look for the printed label. Knauf prints the product name and thickness directly on the membrane every few feet. If the label is faded or missing, measure the thickness with a micrometer or bring us a sample and we’ll identify it. One gotcha worth knowing: Knauf’s vapor barriers are designed to pair with their fiberglass insulation batts, but the barrier itself is brand-agnostic in most installations. We’ve installed Knauf barriers over existing Owens Corning and Johns Manville insulation without issue. The real compatibility concern is the perm rating, not the brand. For San Jose attics, you want a barrier rated at 0.1 perms or lower for a true vapor block. Anything higher and you’re installing a retarder, not a barrier, which changes how the whole attic breathes.
One more thing on the OEM versus aftermarket question: for vapor barriers specifically, there’s no reason to chase an OEM Knauf replacement part. The membrane itself isn’t proprietary the way a furnace control board would be. What matters is meeting the perm rating and using a material that won’t degrade under attic heat. We use Knauf-branded material when that’s what the homeowner prefers, and we’ll say so plainly when an equivalent product does the same job for less.
Signs Your Knauf Vapor Barrier Installation Is Failing
- Condensation on the attic side of the barrier. This almost always means the barrier is torn or the seams weren’t sealed correctly, letting moist interior air reach the cold roof deck. In San Jose winter mornings, you’ll see it as water droplets beading on the plastic. The fix is sealing the breach or replacing the affected section.
- Damp or flattened insulation. Fiberglass loses its R-value dramatically when wet. If the insulation above your barrier feels heavy and matted, moisture has been getting through for months, not days. You’re paying to heat and cool air that’s escaping through compromised thermal performance.
- Musty smell near the attic hatch. That odor is mold or mildew taking hold in the insulation. In San Jose’s mild winters, mold can establish quickly once moisture is present. This is a sign the vapor barrier failed some time ago and the insulation itself may need replacement too.
- Visible tears, staple pull-through, or gaps at the seams. Vapor barriers fail mechanically first. Staples work loose as the house settles, and a 2-inch tear in the right spot can admit enough moisture to cause problems. If you can see daylight through a seam overlap, moisture is getting through.
- Higher humidity in the rooms directly below the attic. When the barrier fails, warm moist air from your living space moves upward into the attic instead of being blocked. You’ll notice it in upstairs bedrooms and bathrooms first. A failed barrier in a San Jose summer means your A/C is fighting humidity that shouldn’t be there.
Replacement Cost & What’s Included
For San Jose homeowners, Knauf vapor barrier installation runs $450 – $1,100 installed. The swing comes down to three things: attic square footage, access (a tight crawlspace attic with no standing room adds labor time), and whether we’re removing and disposing of the old barrier or installing new over a clean substrate. If the existing insulation is damp from a failed barrier, that’s an additional line item, and we’ll show you the numbers before anything starts.
Our pricing in San Jose breaks down like this:
- Standard attic (800 – 1,200 sq ft): $450 – $650 installed
- Larger attic with difficult access: $650 – $900 installed
- Full removal of failed barrier plus new installation: $800 – $1,100 installed
Every Knauf vapor barrier job includes the membrane material, seam sealing with the appropriate tape, edge sealing at the attic perimeter, and disposal of discarded material. The price you’re quoted is the price you pay. We put it in writing before work starts, and the workmanship is covered by our 365-Day Done Right Promise. If the barrier fails within a year because of how we installed it, we come back and fix it at no charge. That’s in writing on every job.
Chase Whitaker has been doing this work in San Jose long enough to know that cheap plastic and rushed seams are the most common reasons barriers fail within two years. We don’t do either.
DIY or Call Us?
Vapor barrier installation is not what we’d call dangerous work, but it is easy to do wrong in ways that don’t show up for months. You won’t get hurt fixing it yourself, but you can absolutely install something that looks right and fails silently. If you want to check your existing barrier, that’s safe and simple: pull the attic hatch, shine a light, and look for condensation, tears, or gaps at seams. That inspection takes five minutes and tells you whether you have a problem. Chasing the fix yourself means crawling around in a San Jose attic that can hit 140°F in summer, working overhead, and getting the perm rating wrong. We see DIY installs where someone used 4 mil plastic sheeting when they needed a true 0.1 perm barrier, and the attic was damp again within a season. If you’re not sure what you’re looking at, call us at (669) 333-7274. We’ll tell you honestly whether it’s worth repairing or replacing, and the estimate is free.
FAQs
A properly installed Knauf vapor barrier in San Jose typically lasts 15 – 25 years. The plastic itself doesn’t degrade quickly, but the installation points (staples, seams, tape) are what fail first. Mechanical damage from stored items or attic foot traffic shortens the lifespan significantly. If you’re storing boxes directly on the barrier, you’re cutting its life in half. We recommend checking the barrier every fall before the rainy season starts. Call (669) 333-7274 if you see any of the failure signs listed above.
Yes, a small tear (under six inches) can be repaired with the proper vapor barrier tape and a patch of matching material. Anything larger than that, or multiple tears, usually means the barrier was installed incorrectly or has reached the end of its useful life. We’ll tell you straight which applies to your attic. A patch job typically runs $150 – $300. A full replacement is often the better long-term play, especially if the original barrier was under-spec’d.
Most Knauf vapor barrier installations in San Jose take 2 – 4 hours. That includes removing the old barrier if needed, laying the new membrane, sealing all seams, and cleaning up. We’ll give you a live arrival window before we come out, and you’ll get before-and-after photos once the job is done. If you book in the morning, it’s typically done by early afternoon.
We stock Knauf vapor barrier membrane in 6 mil and 10 mil on our trucks, along with the proper seam tape and staples. For anything unusual, like the Knauf Smart Vapor Retarder in a specific width, we can typically source it same-day or next-day from our San Jose suppliers. We also work with Reflectix reflective barriers for homeowners who want a radiant barrier solution in addition to the vapor control. Short answer: if it’s a standard attic, we have everything on the truck when we arrive.
Written by Chase Whitaker, Owner, Laurel Attic Insulation San Jose at Laurel Attic Insulation San Jose, serving San Jose and nearby areas.