
CertainTeed Crawl Space Encapsulation: The San Jose Owner’s Guide
If your CertainTeed crawl space encapsulation has torn, sagged, or pulled away from the foundation walls, we can match the liner, tape, and fasteners to your existing system and install the repair correctly. Most encapsulation repairs in San Jose run $1,800 – $4,200 installed, depending on square footage, access height, and how much of the original liner can be salvaged. We stock CertainTeed-compatible liner material on our trucks and can typically schedule the work within 3 – 5 days, not weeks.
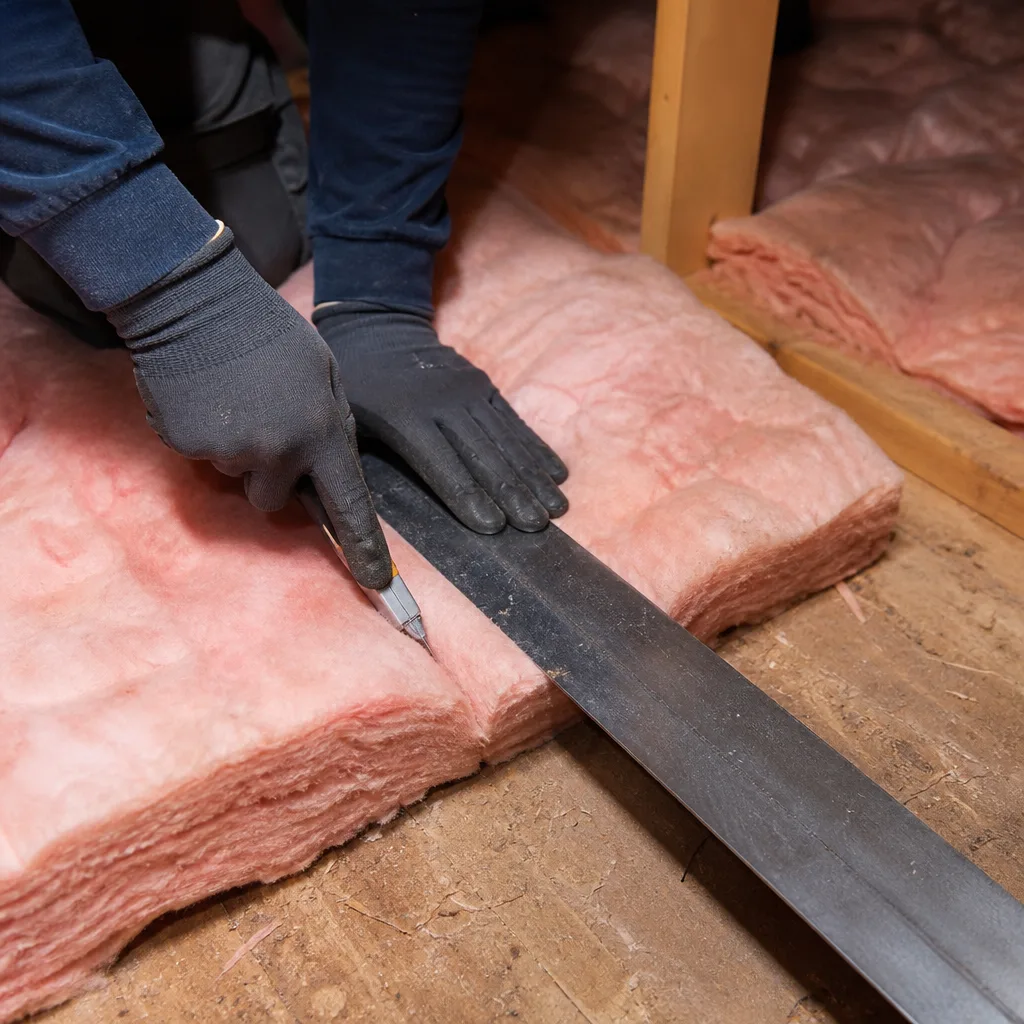
Most San Jose homeowners discover the failure the same way: a musty smell drifting up through the floorboards, higher indoor humidity in summer, or a visible tear spotted during a plumbing or HVAC inspection under the house. The liner that was supposed to keep groundwater vapor out of your crawl space has a breach, and once that barrier fails, the moisture it was holding back starts moving into your floor joists, subfloor, and eventually your living space.
Which CertainTeed Models This Applies To
CertainTeed’s crawl space encapsulation falls under their Membrane and Vapor Retarder product line, most commonly sold as part of the CertainTeed DrySpace™ or through their building-science division as a 10-mil or 12-mil reinforced poly liner. The liner is not a single universal product: CertainTeed manufactures vapor barriers in multiple thicknesses (6-mil, 10-mil, and 12-mil), and the reinforced versions have a woven scrim layer that resists tearing far better than the budget 6-mil sheeting many builders use.
Here’s the compatibility gotcha most San Jose homeowners hit: the tape and adhesives matter as much as the liner itself. CertainTeed’s system relies on butyl-based seam tape and poly-compatible adhesive that bonds to the liner’s specific surface chemistry. Off-the-shelf duct tape or utility tape fails within months in a humid crawl space. If you’re matching an existing liner, you need to know the thickness and whether it’s reinforced or plain poly before ordering replacements. We match that on-site, not from a photo.
We source OEM-equivalent CertainTeed materials directly through our supplier network, but we also stock Reflectix as an aftermarket option where radiant heat is a factor, like San Jose crawl spaces with exposed ductwork. The honest answer: for a vapor barrier repair, staying with a CertainTeed-compatible reinforced liner gives you the best lifespan. For perimeter insulation retrofits, Reflectix can outperform on radiant heat at a lower material cost.
Signs Your CertainTeed Crawl Space Encapsulation Is Failing
- Musty odor in the living space above is the #1 early warning of a vapor barrier breach.
- Visible pooling water or damp earth on top of the liner means it’s no longer directing moisture away.
- Rusted floor joist hardware, mold on subflooring, and insulation falling from between joists are all downstream symptoms.
- Most failures start at seams, pier wraps, or wall terminations, not in the middle of the liner.
- A musty, earthy smell in the house during humid weather. This is almost always moisture vapor bypassing a breached liner. The smell travels up through wall cavities and floor gaps. It gets worse after rain because the soil under your San Jose home holds more water, driving more vapor through the air gap.
- Visible standing water or saturated dirt on top of the liner. A properly installed and intact CertainTeed liner keeps groundwater vapor below the plastic and directs any liquid water toward a sump or perimeter drain. If you see puddles on top, the liner has either torn or was never fully sealed at the seams and edges.
- Fiberglass batts sagging or falling out from between the floor joists. When vapor rises through a failed liner, it soaks the insulation above. Wet fiberglass loses its loft, drops out of the joist bays, and stops insulating entirely. By the time you see this, the subfloor above has been exposed to sustained moisture for months.
- Rust on floor joist hangers, nails, or HVAC duct straps under the house. Elevated crawl space humidity attacks metal hardware first. San Jose’s clay-heavy soils hold water after the wet season, and every warm day pushes that moisture up. If you see orange rust bloom on steel, the encapsulation has a breach somewhere.
- Visible tears, gaps at seams, or liner pulling away from the foundation wall. Rodents, previous contractors crawling through for plumbing work, or simply a poor original install can create tears. The most common failure points in San Jose homes are pier wraps and wall terminations, where the liner gets pulled or punctured by trades working under the house.
Replacement Cost & What’s Included
In San Jose, full crawl space encapsulation repair and replacement typically runs $1,800 – $4,200 installed. Here’s what drives that range:
- Crawl space square footage – a 600 sq ft crawl space costs less than a 1,600 sq ft one. Liner is priced by the square foot, and seams add labor.
- Access height – many San Jose crawl spaces have 18 – 30 inches of clearance. Tighter spaces slow the work and add labor cost.
- How much original liner can be reused – if the failure is isolated to one wall or pier, a patch and re-tape might be all you need. If the liner is brittle or shredded, it’s a full replacement.
- Drainage and moisture mitigation – if standing water is the root cause, a sump pump or perimeter drain may be needed before new liner goes down. That’s quoted separately, in writing, before we start.
Every job includes the certainTeed-compatible liner, seam tape, fastener washers, and labor. We also remove and properly dispose of the failed liner. Our 365-Day Done Right Promise covers the workmanship in writing for a full year. If the repair fails within that period, we come back and fix it at no charge, no argument.
DIY or Call Us?
The honest split: you can absolutely inspect the failure yourself, and you should. Grab a good flashlight, wear old clothes and knee pads, and take photos of any visible tears, seam separation, or standing water. That documentation helps us quote the job accurately before we ever crawl under there.
Where DIY goes wrong is the installation. Crawl space encapsulation is not electrically dangerous like a garage door spring, but it’s physically demanding work in a tight, dusty, sometimes rodent-active space. Getting the liner properly lapped at seams, taped with the right butyl adhesive, and mechanically fastened to foundation walls takes practice. A poorly taped seam fails within a season, and then you’ve paid for liner twice. If you want it done once, call us at (669) 333-7274. We’ll have a real person on the phone, and we’ll give you a written price before work starts.
FAQs
In San Jose’s climate, a properly installed CertainTeed-compatible reinforced liner lasts 15 – 25 years. The liner itself doesn’t degrade quickly; failures come from physical damage (tradespeople crawling through, rodents) or seam tape that loses adhesion after 8 – 12 years of humidity cycles. Plain 6-mil poly, by contrast, often fails within 5 – 7 years in our clay-heavy soils. Call (669) 333-7274 and we’ll assess what you have.
Yes, if the damage is isolated to a seam, a small tear, or a single wall attachment. We patch with the same reinforced liner and re-tape with butyl adhesive for a permanent bond. If the liner is brittle, sun-damaged, or torn in more than a couple of places, replacement is the cheaper long-term option. Estimates are free and include our written recommendation, not a hard sell.
A typical San Jose crawl space encapsulation repair takes one day for a patch or seam repair, and two to three days for a full replacement in a standard 1,000 – 1,200 sq ft crawl space. Tight clearances or standing-water remediation add time, which we’ll identify during the estimate. We schedule a hard arrival time, not a four-hour window.
We carry CertainTeed-compatible reinforced liner, butyl seam tape, and fasteners on our trucks, so most repairs don’t require a follow-up visit. For full replacements or unusual crawl space dimensions, we order from our supplier network and schedule once materials arrive. One call to (669) 333-7274 gets you an appointment and a straight answer on lead time.
Written by Chase Whitaker, Owner, Laurel Attic Insulation San Jose at Laurel Attic Insulation San Jose, serving San Jose and nearby areas.