
Johns Manville Vapor Barrier Installation: The San Jose Owner’s Guide
We stock and install Johns Manville-compatible vapor barrier systems throughout San Jose, with most installations running $1.50 to $3.25 per square foot including materials and labor. Our trucks carry Johns Manville vapor barrier rolls in 6-mil and 10-mil thicknesses, along with the seam tape and adhesives Johns Manville specs for their system, so we can usually handle the job same-day or next-day. Most San Jose homeowners discover they need this work when they climb into the attic for something unrelated and find the old barrier has torn, sagged, or started pulling away from the framing.
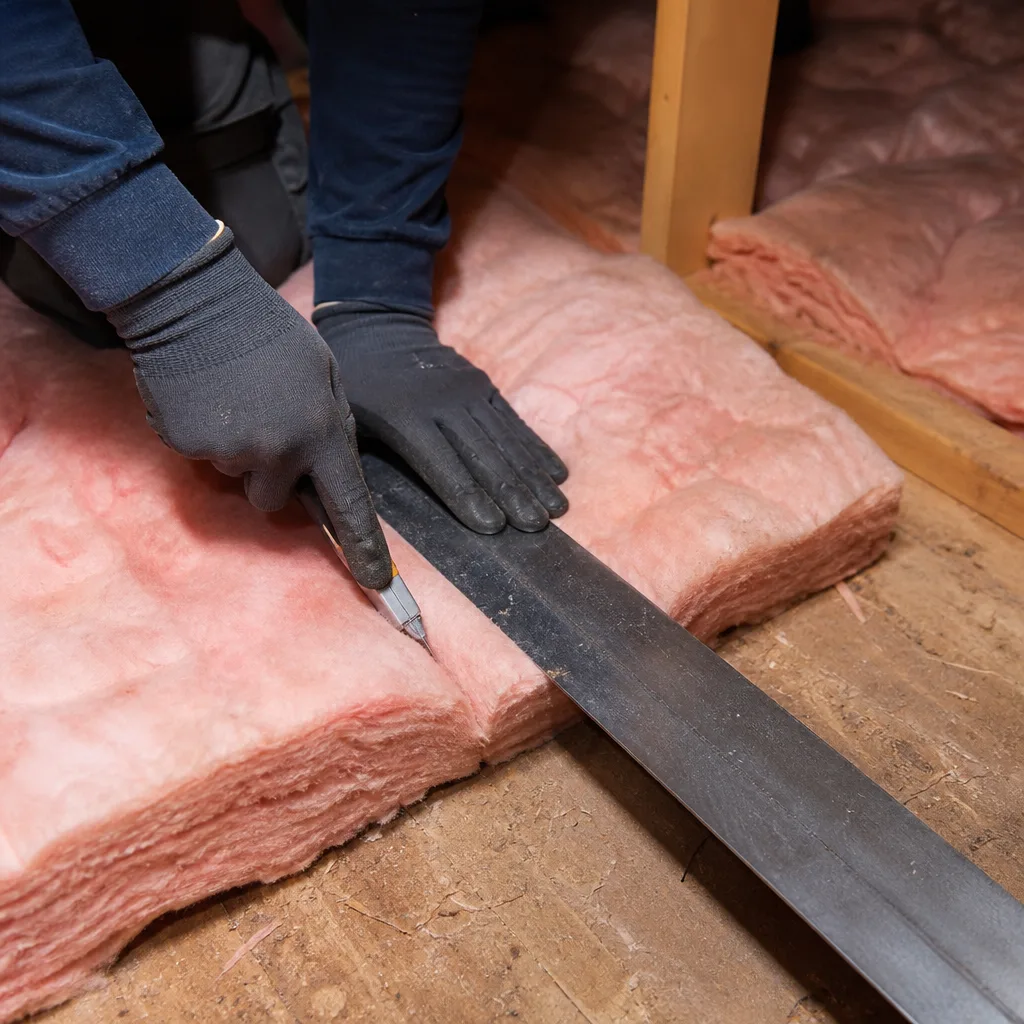
Vapor barrier failure isn’t dramatic. It’s quiet, gradual, and it costs you money every month. You’ll see condensation on the underside of your roof deck in winter, damp insulation batts, or rust starting on the nails poking through the sheathing. That’s moisture moving through your ceiling into the attic, and once it’s there it doesn’t leave on its own.
Which Johns Manville Models This Applies To
Johns Manville manufactures vapor barrier products that work as part of their broader insulation systems, not as standalone branded lines like you’d see with a furnace or water heater. What matters is the material spec, not a model number. We work with JM’s 6-mil polyethylene sheeting for standard attics, and their heavier 10-mil product when the application calls for it, like crawl spaces or attics over high-moisture rooms. The compatibility question isn’t “does this fit my model” so much as “is this the right thickness and permeability for my San Jose climate zone.”
Here’s the gotcha most people miss: Johns Manville’s vapor barrier is designed to work as a system with their insulation products, particularly their fiberglass batts and blown-in products. If your attic has Johns Manville insulation, you want a true vapor barrier installation that integrates with it, not a cheap poly sheet from a big-box store that gets stapled up and fails within a few years. We’re an independent installer, not affiliated with Johns Manville, but we use their materials because the specs are published, the quality is consistent, and when we install it right the first time, the 365-Day Done Right Promise covers it.
Signs Your Johns Manville Vapor Barrier Installation Is Failing
- Condensation on attic surfaces during winter months: When warm, moist air from your living space pushes into a cold attic, it condenses. If you see water droplets on the roof deck or on insulation facing in December through February, the vapor barrier isn’t stopping that moisture migration the way it should.
- Damp or matted insulation batts: Insulation loses R-value, the measure of how well it resists heat flow, when it gets wet. If your Johns Manville fiberglass batts feel heavy, look compressed, or smell musty, moisture has been getting through for a while.
- Rust on roofing nails or metal fasteners: That rust means condensation has been happening long enough to oxidize steel. By the time you see this, the vapor barrier has been failing for at least a year or two, and the insulation above it is compromised.
- Visible tears, sagging, or gaps in the barrier itself: Polyethylene sheeting gets brittle over time in a hot San Jose attic. Summer temperatures up there regularly hit 140 degrees, and that heat cycling causes the material to stiffen, shrink, and eventually tear away from staples or framing.
- Unexplained spike in your winter PG&E bill: Wet insulation doesn’t insulate. If your heating costs crept up even though nothing else changed, the vapor barrier failure may have allowed moisture to soak your insulation and quietly destroy its thermal performance.
Replacement Cost & What’s Included
For most San Jose attics, a Johns Manville vapor barrier installation runs between $1.50 and $3.25 per square foot. A typical 1,200-square-foot attic lands in the $1,800 to $3,900 range. The spread comes down to a few things: whether the old barrier needs to be removed first, how much of your existing insulation is water-damaged and needs replacement, and whether you’re using 6-mil or 10-mil material for the new barrier.
Here’s what you get with us on every vapor barrier job in San Jose: a written price before any work starts, Johns Manville barrier material matched to your attic’s moisture load, seam tape and adhesive installed to JM’s published specs, and the Relay Visibility Guarantee, which means you get live tracking when our technician is on the way and photo proof of the completed work before we leave. The whole installation is backed by our 365-Day Done Right Promise. If it’s not right, we make it right, in writing, every time.
DIY or Call Us?
A vapor barrier installation in a San Jose attic isn’t dangerous in the way garage door springs or electrical panels are. Nobody’s going to lose a finger doing this. But the ways DIY goes wrong here are predictable and expensive. You’ll spend a Saturday crawling around in a 130-degree attic, staple up poly sheeting with gaps you can’t see, and in two winters the condensation will be back. Then you’ll pay someone to remove the moisture-damaged insulation you thought you’d protected.
What you can safely check yourself: look for visible tears, feel your insulation for dampness, and note any rust on roofing nails. That’s a useful diagnosis. The installation itself, done to Johns Manville specs so it actually works for years, is what we do every week. Call us at (669) 333-7274 and we’ll give you a straight answer on what your attic actually needs.
FAQs
A properly installed Johns Manville vapor barrier typically lasts 15 to 20 years in San Jose’s climate. The heat cycling in an attic, where temperatures swing from 140 degrees in summer to near freezing in winter, eventually degrades the polyethylene. Cheaper materials or sloppy installation cuts that lifespan to 5 years or less. If you had a barrier installed more than a decade ago, it’s worth a look. Call (669) 333-7274 and we’ll inspect it honestly, no charge for the assessment.
Small tears, under a foot or so, can often be repaired with the right seam tape and some patience. But if you’re seeing multiple tears, sagging sections, or moisture damage across a large portion of the attic, a full replacement is the better financial call. Repairs on old, brittle sheeting tend to fail within a season or two. We’ll give you a straight answer on which path makes sense for your attic, not the one that makes us more money.
Most vapor barrier installations in San Jose are done in a single 4-to-6-hour visit. That includes removing any failed material, installing the new Johns Manville barrier with proper seams and seals, and taking photo documentation of the finished work. Larger attics or jobs that require insulation replacement can stretch into a second day. When you book with us, you get a live arrival time, not a four-hour window to sit around waiting for.
We do. Our trucks carry Johns Manville 6-mil and 10-mil vapor barrier rolls, the matching seam tape, and the adhesives JM recommends for their system. We also carry Reflectix products for specific radiant barrier applications. That means when we diagnose the problem, we can usually fix it the same day, instead of scheduling a second visit after material shows up.
Get Your San Jose Attic Dry, Insulated, and Done Right
Chase Whitaker and the crew at Laurel Attic Insulation San Jose have been crawling through attics across this city for years, including older ranch homes in Willow Glen where 1960s-era vapor barriers gave up a long time ago. Insulation isn’t exciting, but your next utility bill can be. Call (669) 333-7274 for a free estimate. A live person answers, 24/7. We’ll give you a written price before anything starts, install the Johns Manville barrier to spec, and back it with a 365-day guarantee in writing. No phone tag, no surprises at the door, no wet insulation next winter.
Written by Chase Whitaker, Owner, Laurel Attic Insulation San Jose at Laurel Attic Insulation San Jose, serving San Jose and nearby areas.